

LEIA COM ATENÇÃO AS INSTRUÇÕES:
1) Todos os Kits são gratuitos mesmo! Não vendemos nenhum produto (nem aqui nem em nenhum outro site).
2) Você pode usar todas as imagens do Kit sem pedir autorização.
3) Não enviamos as imagens por email. Todas as dicas para baixar as imagens estão aqui mesmo no blog, é só seguir os passos abaixo.
4) Para montar os Kits, assista aos diversos vídeos com o passo a passo que estão disponibilizados no blog CLIQUE AQUI!
5) PARA MAIORES INFORMAÇÕES SOBRE: MEDIDAS CLIQUE AQUI, COMO IMPRIMIR, QUAL PAPEL USAR E CLIQUE AQUI!, COMO MONTAR OS KITS CLIQUE AQUI!
6) Para ver as imagens em boa resolução e copiar, clicar com o lado direto do mouse e "abrir em nova guia" ou clicar em cima da imagem! Depois, clicar com o lado direito do mouse e clicar em "salvar imagem como" ou "save image as" (assita o vídeo de como salvar clicando aqui!).
7) Depois de personalizar, cortar as bordas brancas da imagem antes de imprimir (com a ferramenta cortar ou crop - ver o vídeo).
8) As imagens estão EM ESCALA, e não precisa diminuir o tamanho para personalizar (alterar a medida do molde apenas na hora de imprimir, no Word, sem diminuir o tamanho-qualidade da imagem) Assista ao vídeo de como fazer isso!
10) Se alguém deixar alguma mensagem em sua página reclamando da utilização das imagens NÃO FOMOS NÓS, pois realmente não temos qualquer restrição à utilização das nossas imagens! Ao contrário, é uma grande honra saber que vocês gostaram das nossas artes e vão usá-las em suas lindas festinhas!
Moldura Convite e Cartão Cinderela:

Bandeirinha Sanduiche Cinderela:

Convite Pirulito Cinderela:

Rótulo Bis Cinderela:

Rótulo Garrafas Cinderela:

Bandeirinha Varalzinho Cinderela:

Saias Wrappers para Cupcakes Cinderela:

Caixa Sabonete Cinderela:

Rótulo Bisnaga Brigadeiro Cinderela:

Rótulo Tic Tac Cinderela:

Rótulos para: Latinha,Gelatina,Tampinhas,Adesivos,Marmita Redonda e Toppers Cupcakes
Cinderela:

Rótulo Bala de Goma Gomets Cinderela:

Topper Bandeira Cinderela:

Bandeirinha Cinderela:
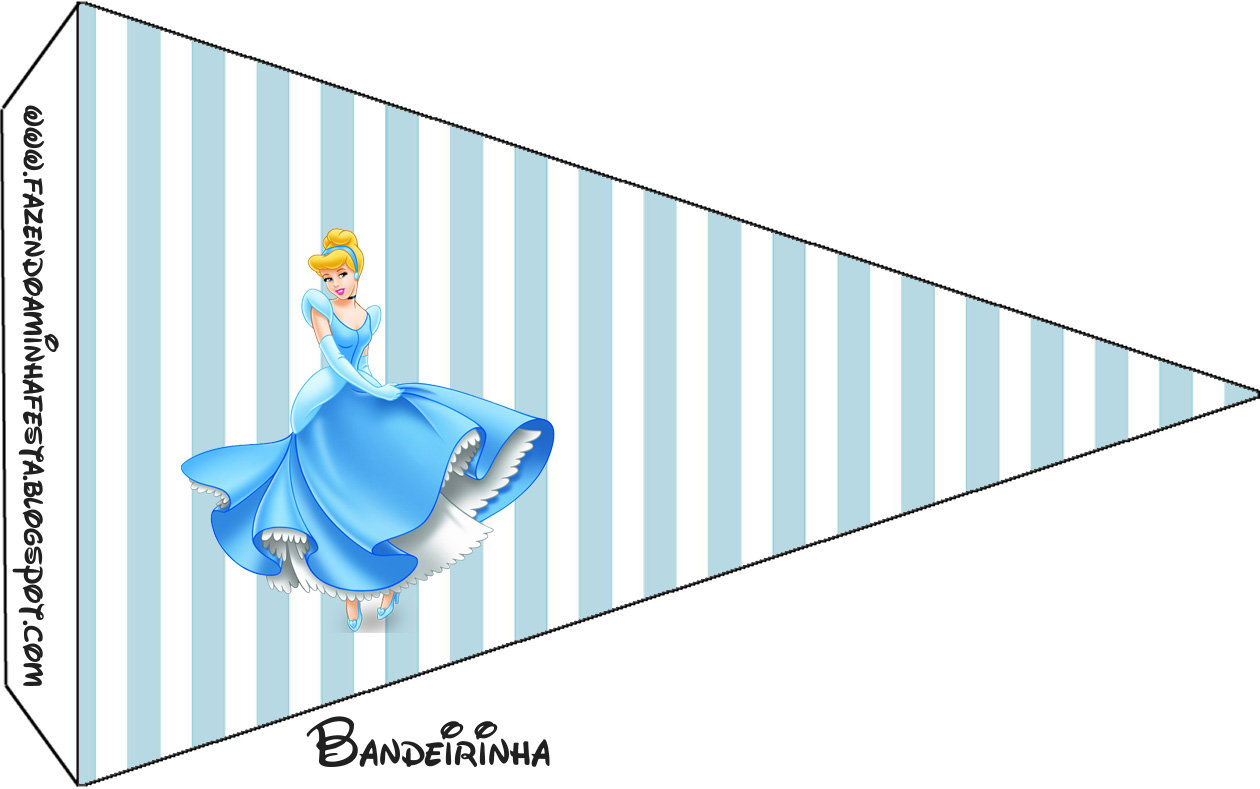
Bandeirinha Sanduiche Cinderela:

Chocolate 130 a 170g Cinderela:

Chachepô de Mesa Cinderela:

Caixa de Balas Cinderela:

Caixa Bom Bom Cinderela:

Caixa Cinderela:

Caixa Coração Cinderela:

Caixa Cupcake Cinderela:

Caixa Fatia Cinderela:

Caixa Pipoca Cinderela:

Caixa Pirâmide Cinderela:

Caixa Vestido Cinderela:

Caixa China in Box Cinderela:

Caixa Bom Bom Cinderela:

Caixa Cinderela:

Convite Calendário 2013 Cinderela:

Convite Calendário 2014 Cinderela:

Convite Calendário 2014 Cinderela:

Convite, Cardápio ou Cronograma em Z Cinderela:

Cartão Agradecimento Cinderela:

Cone Guloseimas Cinderela:

Cone Guloseimas 4 lados Cinderela:

Cone Guloseimas Cinderela:

Convite Moldura e Cartão Cinderela:

Convite Moldura e Cartão Cinderela:

Convite Moldura e Cartão Cinderela:

Convite Moldura e Cartão Cinderela:

Convite Caixa Fundo Cinderela:

Convite Caixa Tampa Cinderela:

Convite Camisa Cinderela:

Convite Chocalho Cinderela:

Envelope do Convite Cinderela:

Convite Cinderela:

Convite Triangular Transpassado Cinderela:

Convite Cinderela:

Convite Vestido Cinderela:

Convite Xícara Cinderela:

Enfeite Canudinho Cinderela:

Envelope Fritas Cinderela:

Forminhas Docinhos Cinderela:
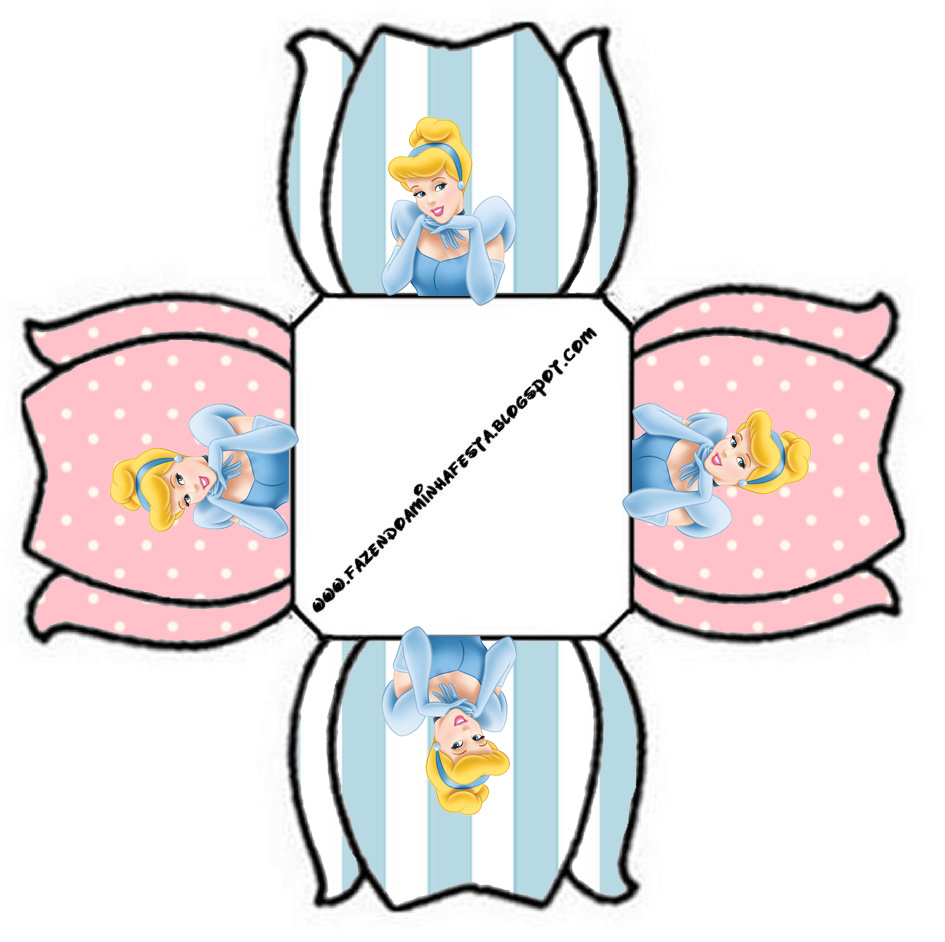
Forminhas Docinhos Cinderela:

Forminhas Docinhos Cinderela:

Envelope Fritas Cinderela:

Caixinha Kit Ressaca Cinderela:

Marcador de Páginas Cinderela:

Marcador de Páginas Cinderela:

Menu Cinderela:

Menu Cinderela:

Rótulo Mini Confeti Cinderela:

Rótulo Mini Pastilha Docile Cinderela:

Rótulo Bis com Logo Lacta Cinderela:

Rótulo Nescauzinho Cinderela:

Rótulo Pé de Moleque Yoki Cinderela:

Porta Guardanapos Cinderela:

Molde Quadrado Cinderela:

Rótulo Água Cinderela:

Rótulo Batom Garoto Cinderela:

Rótulo Bis Cinderela:

Rótulo Bis Cinderela:

Rótulo Passatempo Cinderela:

Rótulo Bolinha de Sabão Cinderela:

CD DVD Cinderela:

Rótulo Esmalte Cinderela:

Rótulo Guaraná Caçulinha Cinderela:

Rótulo Lápis Cinderela:

Rótulo Lata de Leite Cinderela:

Rótulo Mini M&M Cinderela:

Tampa Marmita Grande Cinderela:

Tampa Marmita Pequena Cinderela:

Rótulo Mentos Cinderela:

Rótulo Mini Talento Cinderela:

Rótulo Creminho Nucita Cinderela:

Rótulo Pote Papinha Cinderela:

Rótulo Pastilha Garoto Cinderela:

Rótulo Pipoca Cinderela:

Rótulo Pirulito Mastigável Cinderela:

Rótulo Squezze Cinderela:

Rótulo Toddynho Cinderela:

Rótulo Mini Trakinas Cinderela:

Rótulo Tubetes Cinderela:

Rótulo Sabonete 90g Cinderela:

Saquinho de Balas Cinderela:

Saquinho de Chá Cinderela

Tag Agradecimento Cinderela:

Flor Cinderela:

Tulipa Cinderela:


